
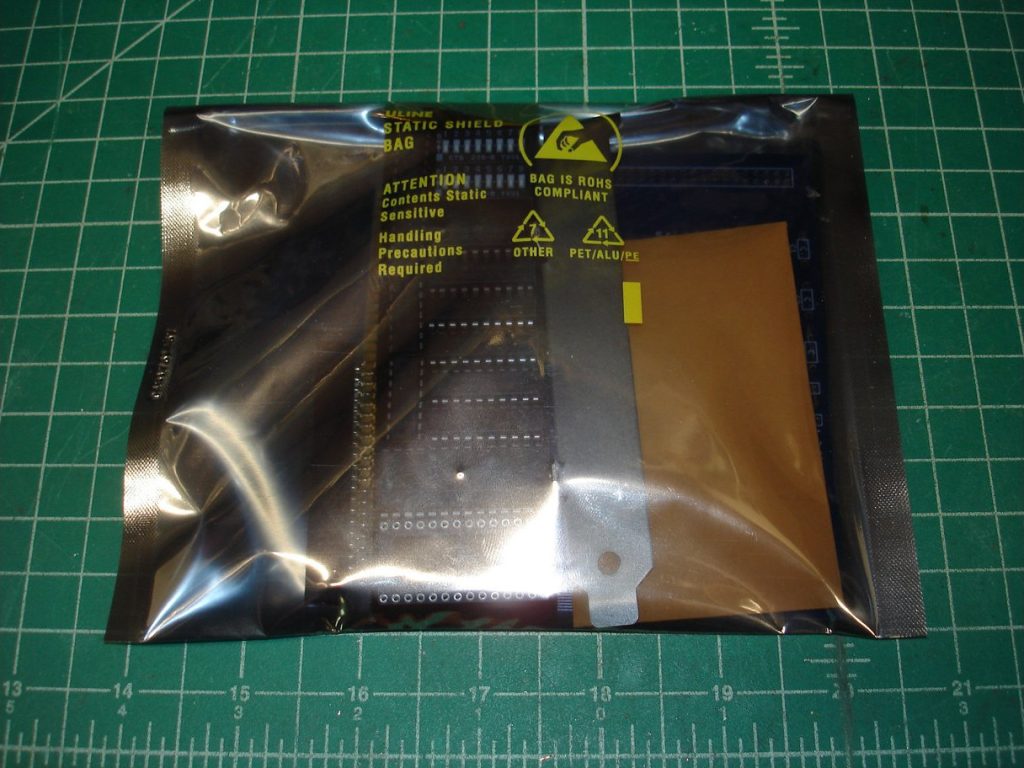
In my last post I went through the process of bringing an old 286/12 back to life. At the end of that post, I left off with the machine unable to boot from it’s own hard disk. This meant I would need to find another way to allow an old machine like this to boot from more modern media. Thankfully I found a solution in an open source hardware kit called the XT-IDE. The XT-IDE kit is a very simple 8-bit ISA hard disk controller for IDE drives that coupled with some firmware allows XT/AT & clone computers to boot from larger drives. Since this board is only a hard disk controller, I would also need a floppy controller. (more on that later) I ordered up a kit and when it arrived, I immediately tore into the package and built it up.
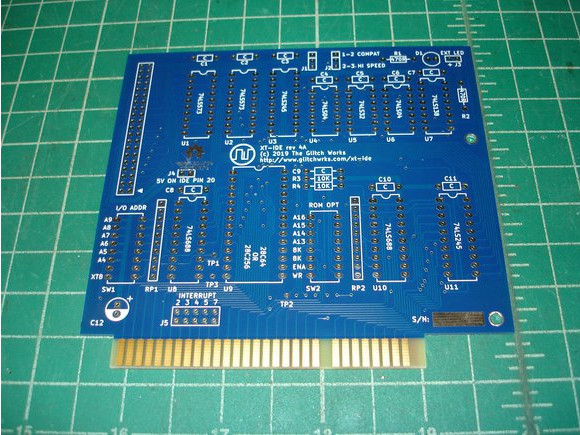
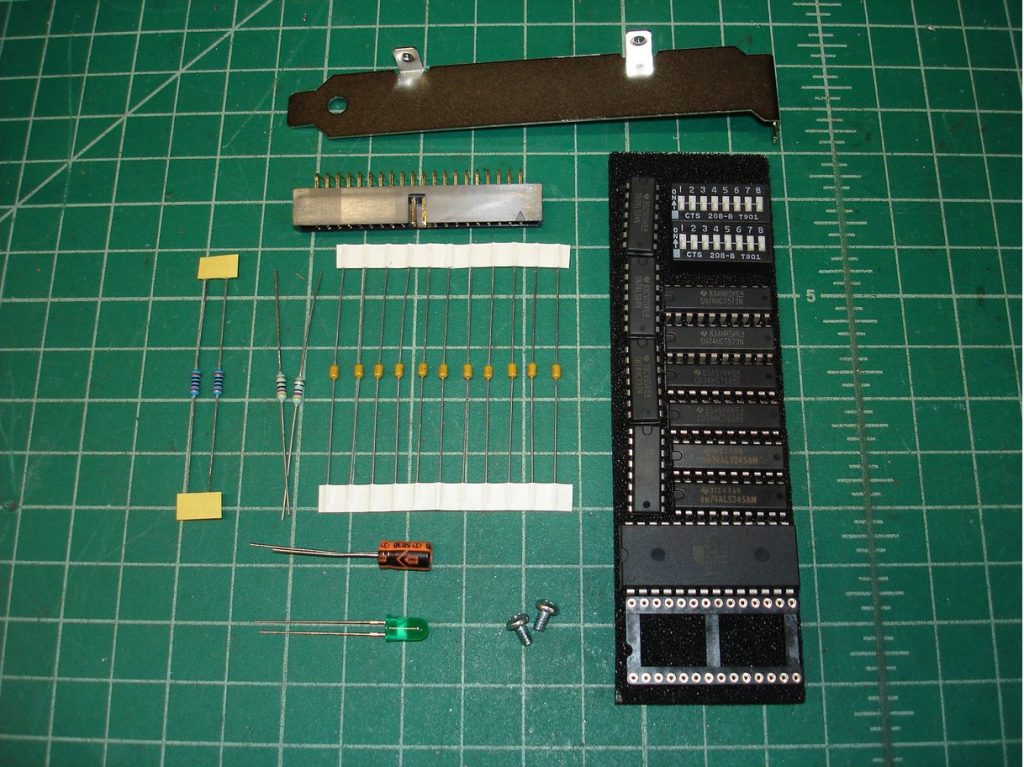
This being the 4th revision of the board, it was an incredibly well polished design. I did actually have to add some pin headers for the jumpers which were not included with the kit, so just keep that in mind if you build one of these. I read over the instructions for assembly just to be sure, but the board has such a nice silkscreen it almost isn’t necessary. Assembly went relatively quickly with the board completed in about 1.5hrs.

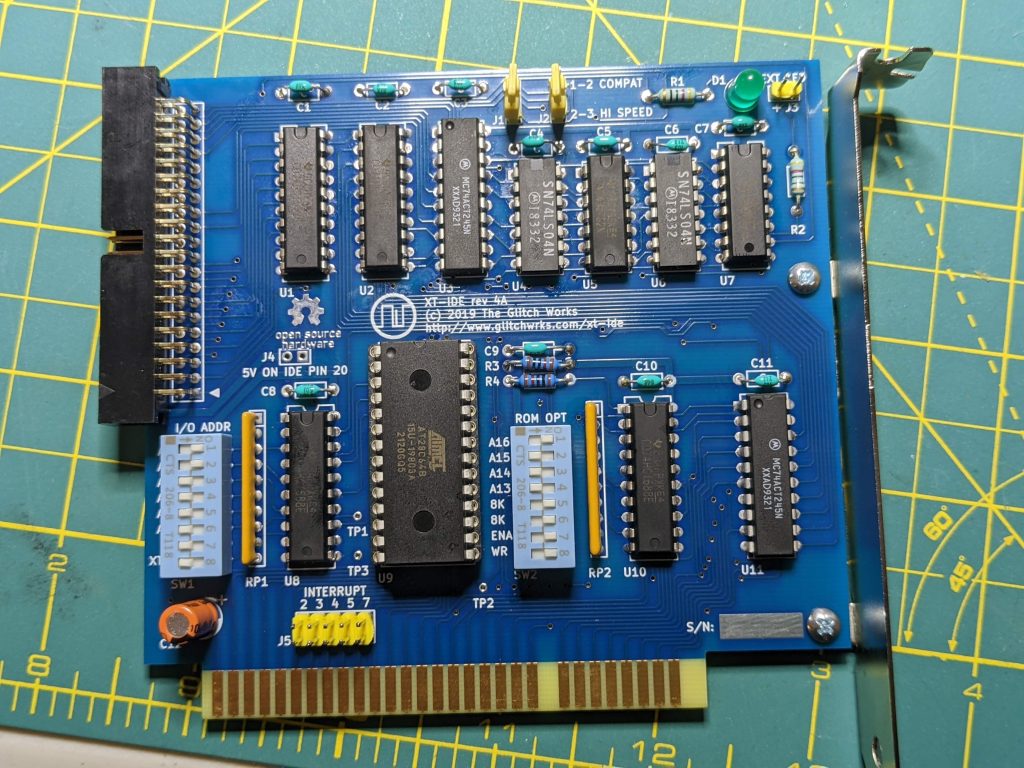
With the board assembly complete, I put it under a crafting lamp with a magnifying glass and inspected all of the solder joints to look for any bridges and touched up anything that didn’t look quite good enough. After that, it was time for the moment of truth. I plugged it into the 286, connected up the hard disk and it actually booted into DOS from the hard drive! For this test, I had actually kept the multi-i/o board installed, but with the IDE section disabled. (just in case I needed the floppy)
Speaking of floppy disks… I didn’t want to keep the multi-i/o controller in the 286 as I planned to return it to the 486SLC where it belongs. (and it’s my only surviving multi-i/o board of this type) Having had so much success with the XT-IDE and given the prices of original floppy controllers from this era, I decided to see if there was another open source controller option for floppy disks. Sure enough, I found that someone named Sergey Kiselev had designed just such a board. I ordered a complete kit from eBay and built it up with the same enthusiasm as the XT-IDE.
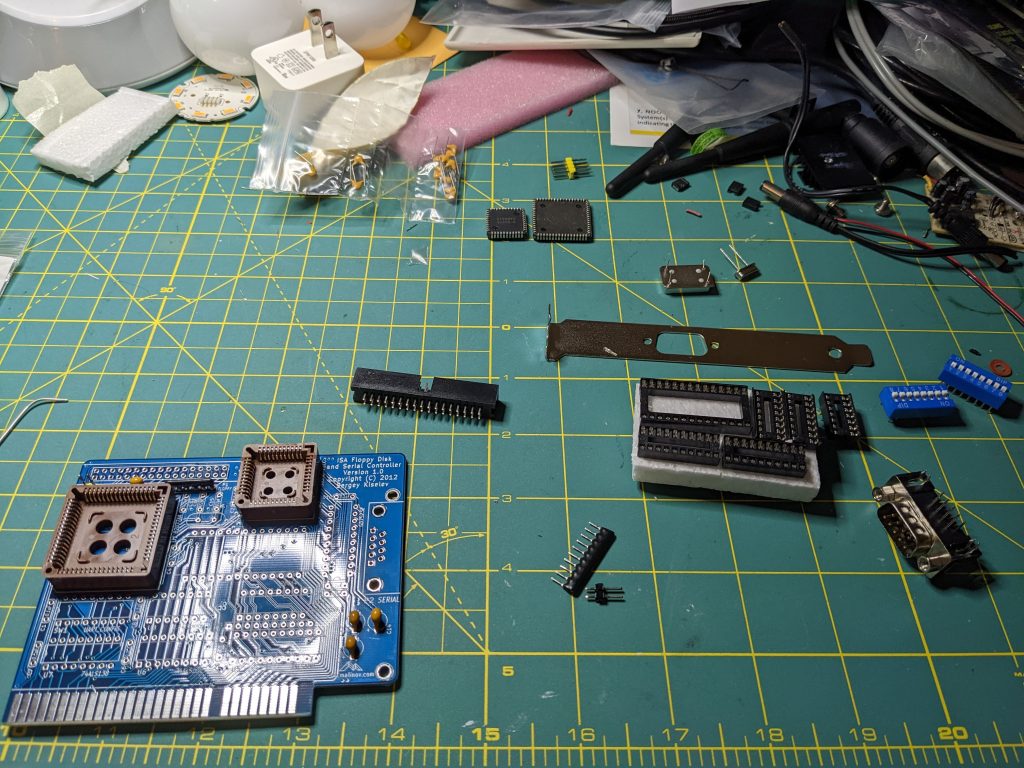
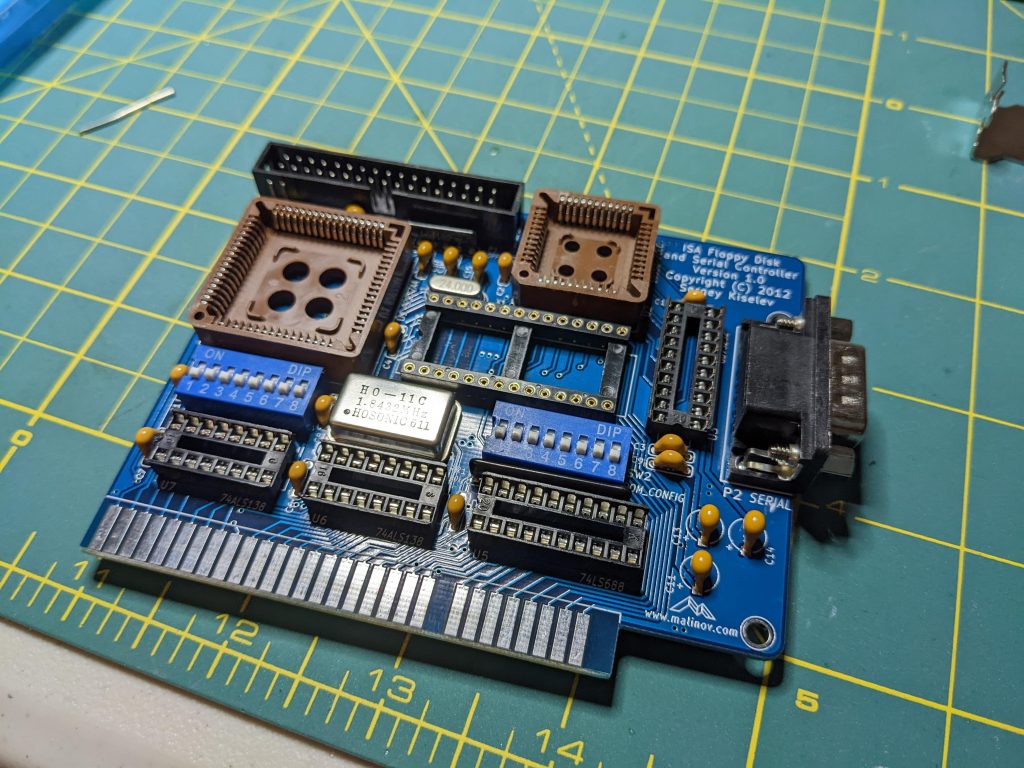
This kit was based primarily on a pair of PLCC chips and was a more compact design than the XT-IDE. This made assembly a bit more difficult as there were more connections closer together. I initially tacked the parts in place by soldering just 2 connections each and then went back later to fill in all of the rest. The sockets that came with this kit were the cheaper single-wipe type. I don’t mind these for the smaller DIP chips, but I replaced the one for the ROM with a nicer round hole socket that I had on hand. I also made a small mistake you can see above in that I forgot to socket the larger crystal oscillator, so it’s permanently on the board.
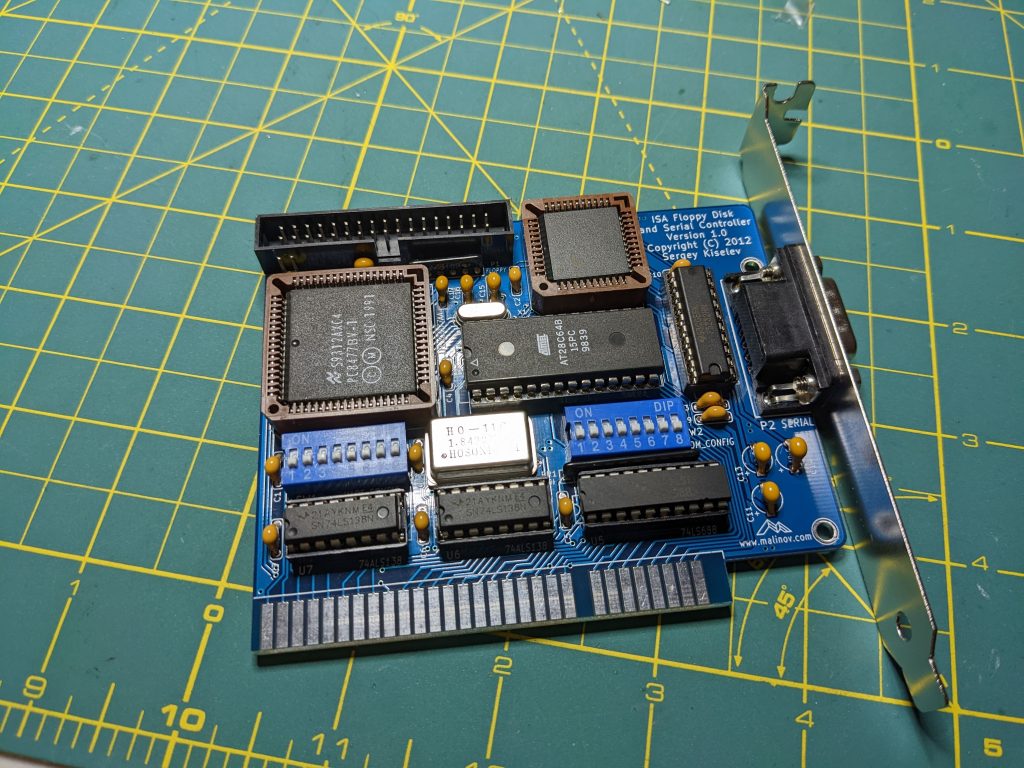
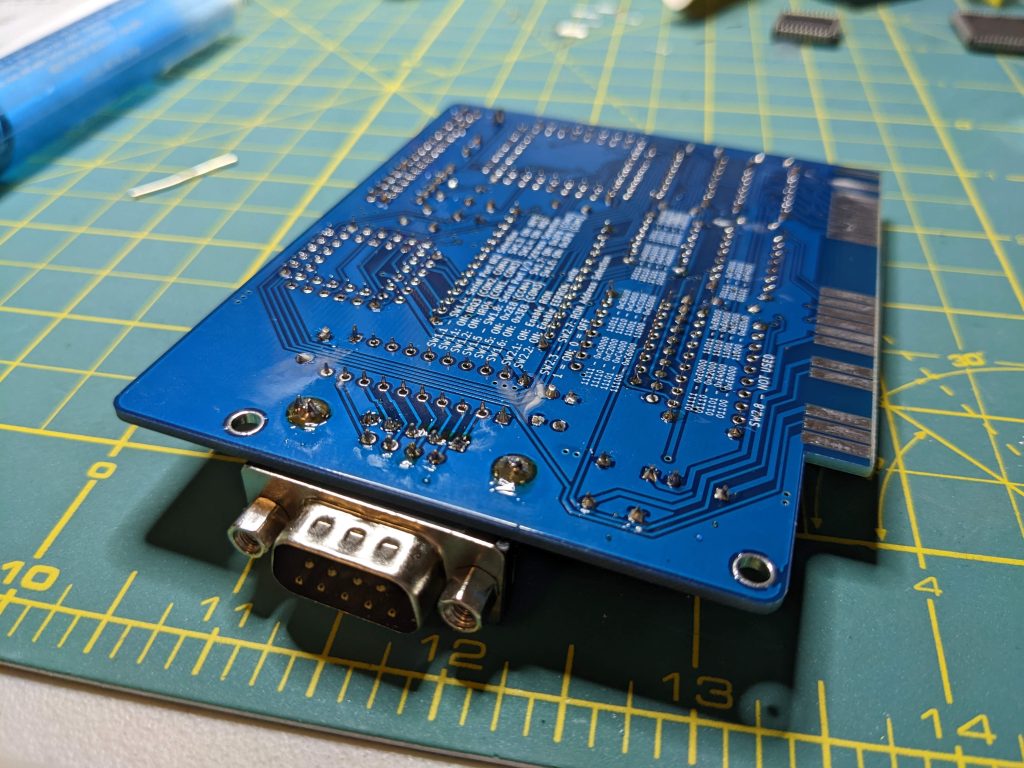
Overall, I’m pretty happy with how the Floppy/Serial controller turned out. I did end up having to change the configuration to make this card play nice with the XT-IDE, but thankfully this is well documented online. All of the chips fit in their sockets really well and the board aligns decently with the ISA slots on the motherboard.
I added a Teac 1.2mb floppy drive (also from eBay) to this system for additional authenticity. (and also because my existing Matsushita drive is finicky when it comes to reading 360k floppies) The open source controller works great so far and it performs just as you’d expect any other floppy controller to function. I’m not currently using the built-in serial features as the DTK 286/12 motherboard actually includes onboard serial and parallel ports. It was really nice to be able to read some of my older floppies that were previously unreadable. At some point I’ll have to see if I can source some DS/HD floppy disks to format at 1.2mb as I never really tried them as a kid. I pretty much jumped straight from 360k floppies to 1.44m 3.5in disks.
These were both fun little projects that made my DTK 286 restoration project complete. If you’re in the process of bringing an old XT or AT machine back from the dead and have similar needs, I highly recommend these kits as they’re inexpensive, fun to make and work really well.