Many in the retro-computer community are aware of the dangers of Varta rechargeable batteries found on many older computer mainboards. These permanently soldered-on components have a tendency to leak as they age and wreak havoc as the acidic fluid corrodes and dissolves the copper traces on the board. As I learned today, there’s another hidden foe that may be lurking in some of your devices, particularly power supplies. This evil substance is a type of yellowish glue.
Yellow glue isn’t silastic, the typically white non-conductive silicone-based adhesive found in some higher quality applications. It seems to be possibly some type of neoprene rubber adhesive that is cheap and sets quickly making it a popular choice for low cost manufacturing of electronics. It’s typically applied to glue components in place for assembly, insulation and protection from vibration. The down side is that this material ages poorly, especially in hot environments and becomes hygroscopic. Once this happens, the material becomes partially conductive as it absorbs water which can lead to some pretty dramatic failures, especially if the material is on a mains or high voltage part of a circuit board.
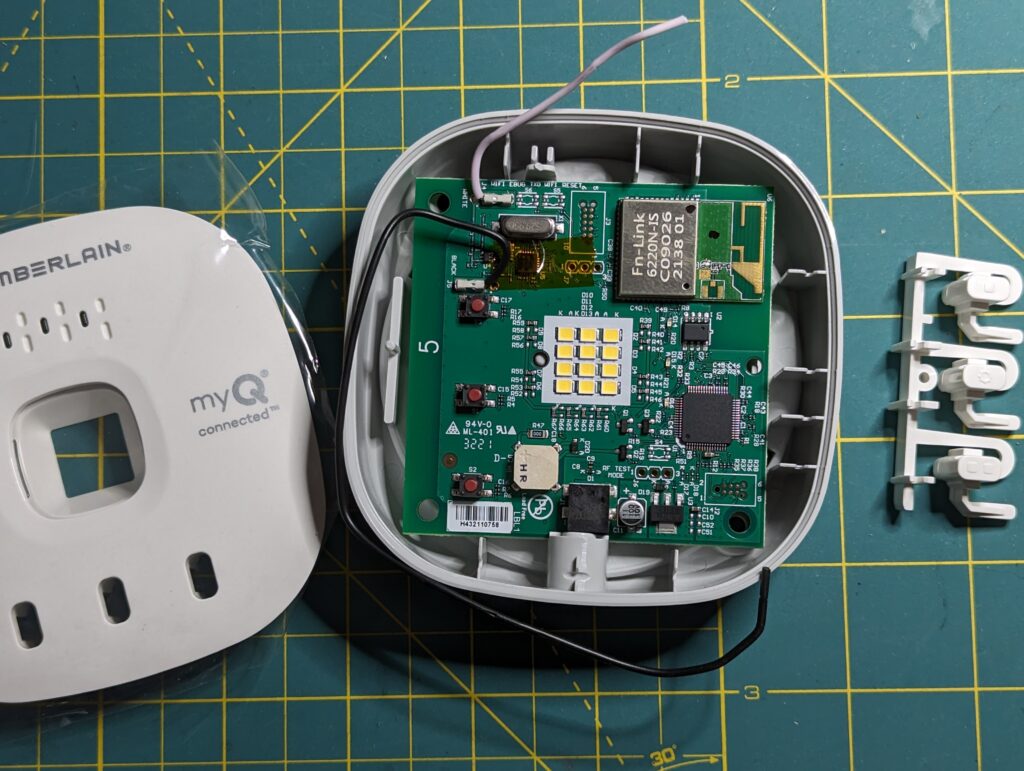
I discovered this issue on some power supply boards I was troubleshooting. I had been going through the process of reworking them and was checking all of the components prior to powering up. One of the probes to my multimeter slipped off the diode I was measuring, but to my surprise I was still getting a reading. I jammed both probes into the browning mess of old glue and what do you know, it was conductive! It measured over a mega-ohm, but it was consistent. I started checking the other spots of glue and any that looked darker and crusty were conductive.
The other downside of this material is that it’s very difficult to remove without damaging components. In my application, I was able to use some stiff plastic spudger tools to scrape it away. It was very labor intensive and didn’t entirely remove it. I may try something like acetone on individual components like inductive coils, (to attempt to dissolve and remove it) but unsure if this would be safe to just douse the board with.