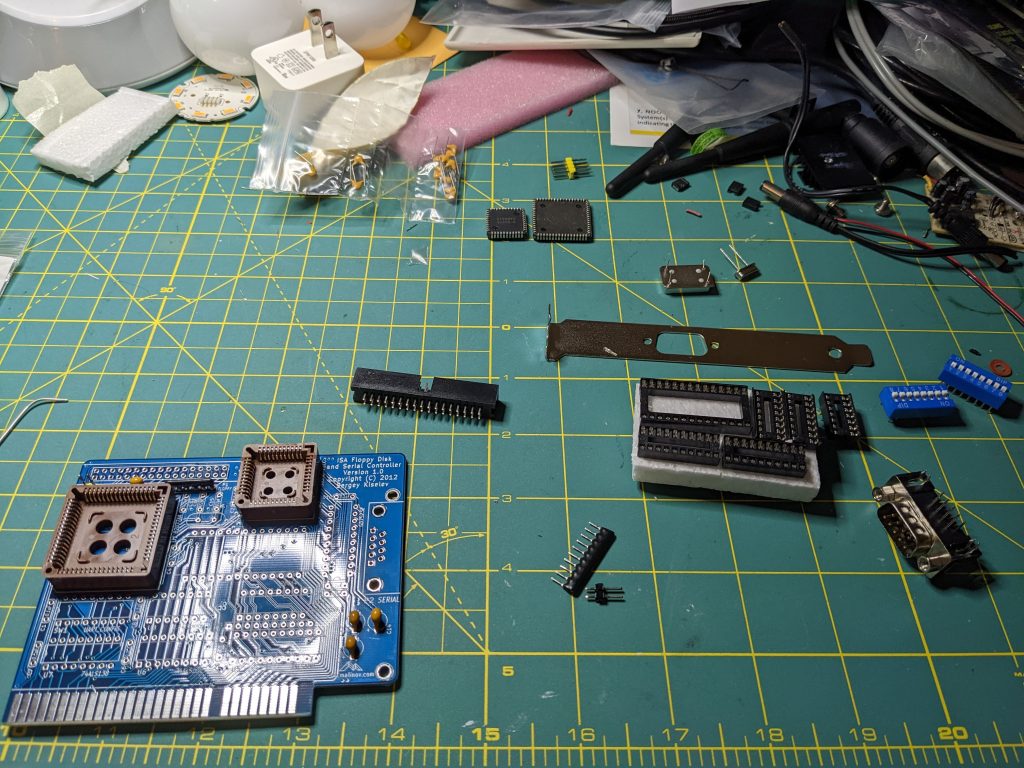
The title might seem a little over the top, but let me explain. This afternoon, I had one thing I wanted to do. I wanted to sit in my racing sim and practice. A seemingly simple thing, right? The thing is, I hadn’t sat down at my sim in about a month. (life has been a bit busy lately) As I expected, I had some AV updates that needed to be applied… no problem. The batteries on my wireless mouse were giving out… annoying, but again, no problem. The system seemed super sluggish after doing the AV updates, so took a look at oh, yep… a bunch of updates from Microsoft. No problem, I’ll let these install and then I’ll play I thought. Oh, how naive of me.
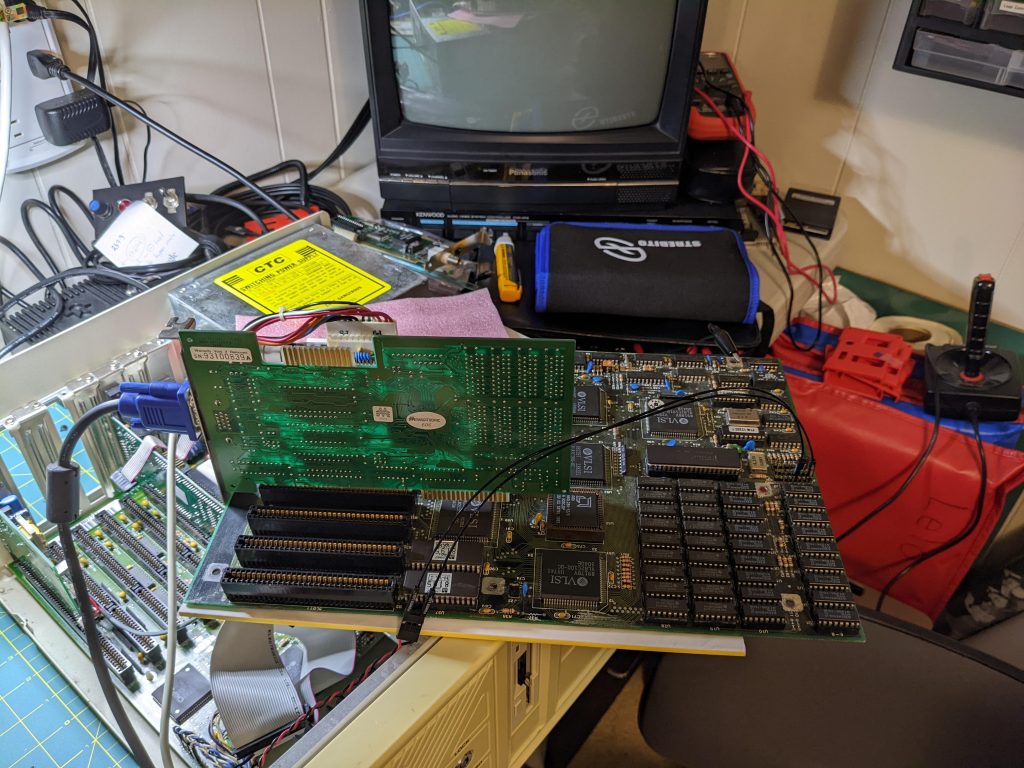
I should have known something was up earlier, but I let my trust in the update process get the better of me. You see, earlier I’d loaded up a piece of software that controls the haptic feedback on my seat and it had a problem because it couldn’t find the output device. The output device is a small usb audio interface that sends analog signals to an amplifier that drives a transducer, which in turn makes the seat vibrate. This sudden change was a result of driver updates, something that I’d specifically disabled. (for reasons that will soon become apparent) That seemed weird, but the device was still there and I just had to re-select it.
The second thing that should’ve tipped me off was an NVidia driver update coming through Windows Update. Strange I thought… I’m sure I disabled that. (I had previously) Still, I thought… what’s the harm. It probably needs it anyway. What I didn’t see was one of the other update packages contained a driver update for the onboard audio. This had already completed, but the worst part was that in the process of updating, it removed the user interface that allows you to configure things like surround sound. I checked the properties for Sonic Studio 3 and found that the application was missing, but there was a handy menu to install it. Awesome! (it wasn’t awesome)
Clicking this menu brought me immediately to the listing for this application on the Microsoft store, but when I clicked it the download immediately failed and told me to log in. I tried to do that and was met with a progress wheel that timed out and failed. This happens when you use a local account with Windows and don’t log in to Microsoft’s services. Ok, annoying, but I’ll just go to the Asus ROG driver page and download them I thought. What I got from the manufacturer support site was a driver-only download. Cue a bunch of searching through forums until I find a link to a slightly older version of the same driver package with the entire suite. (also hosted on the manufacturer site)
What happened became apparent at this point. Asus has moved current & future versions of this application/driver package onto the Microsoft store and removed it from their own support page. This has the effect of tying continuing support of their products to Microsoft’s services. It also revealed that Microsoft is continuing to reset certain settings on your computer to their factory defaults without notice or warning in what are supposed to be security & quality updates. Microsoft, if you’re listening… this is how you erode user trust.
While I’d managed to turn off driver & application updates via Windows Update (again) and had fixed the sound issues… I was done. This whole debacle cost me over an hour of my time, by which point I was so disgusted I didn’t even want to do the one thing I’d sat down to do in the first place.