
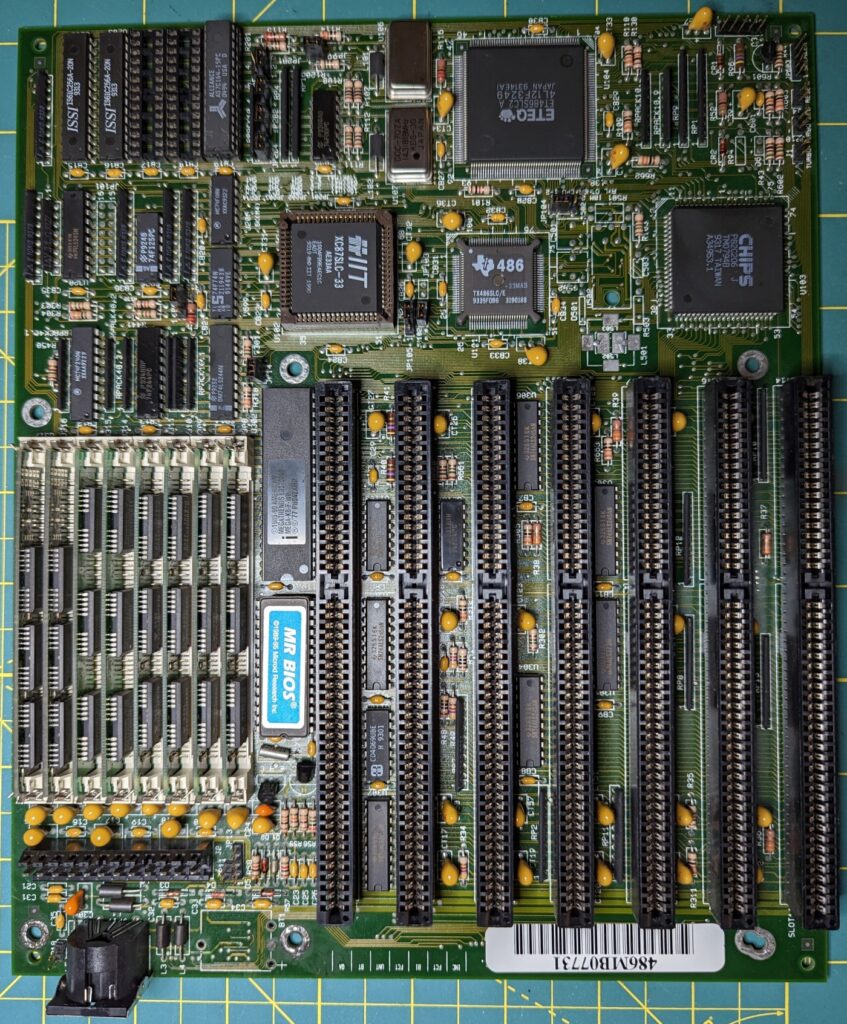
Lately I’ve been digging into more of my retro collection to repair and preserve some of these systems and components. One of the systems I’ve put a fair amount of time into was the first motherboard I bought. It was a humble system, even by the standards of the day, barely exceeding the performance of the previous generation, but it was really the beginning… the first system I assembled from (mostly) new parts. My first 2 computers were an 8088 (XT) I cobbled together from spare parts and an 80286 that I got from a friend and some additional used parts from the 8088 and elsewhere. The system board I chose to create this new computer from was an Eteq 486SLC at 33Mhz. It was powered by a Texas Instruments TX486SLC/E-33MAB CPU, a licensed copy of the Cyrix 486SLC. This was a low power variant of the Cyrix 486 CPU intended for use in mobile or embedded applications. (like Intel’s SX compared with the DX 486 CPUs, or DLC in the case of Cyrix) In a desktop the 486SLC was competent, but was not fast by any means, only performing slightly faster than a i386DX CPU at 40Mhz. (mostly due to the fact that the Cyrix/TI design had a small amount of onboard cache memory, but also close because the SLC/SX CPUs only have a 16-bit external bus which slows down I/O)
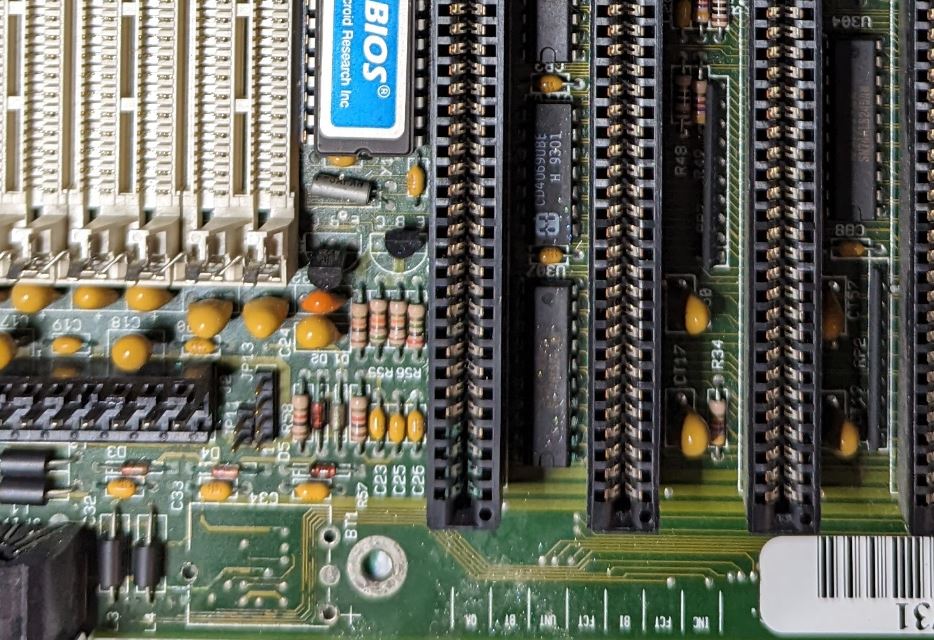
Like many systems of the era, this board was equipped with a Varta NiMH rechargeable battery soldered permanently to the board. Also like many of these systems, over time the battery leaked and began corroding the conductive metals near the area. I had previously removed the battery and scrubbed some of these parts
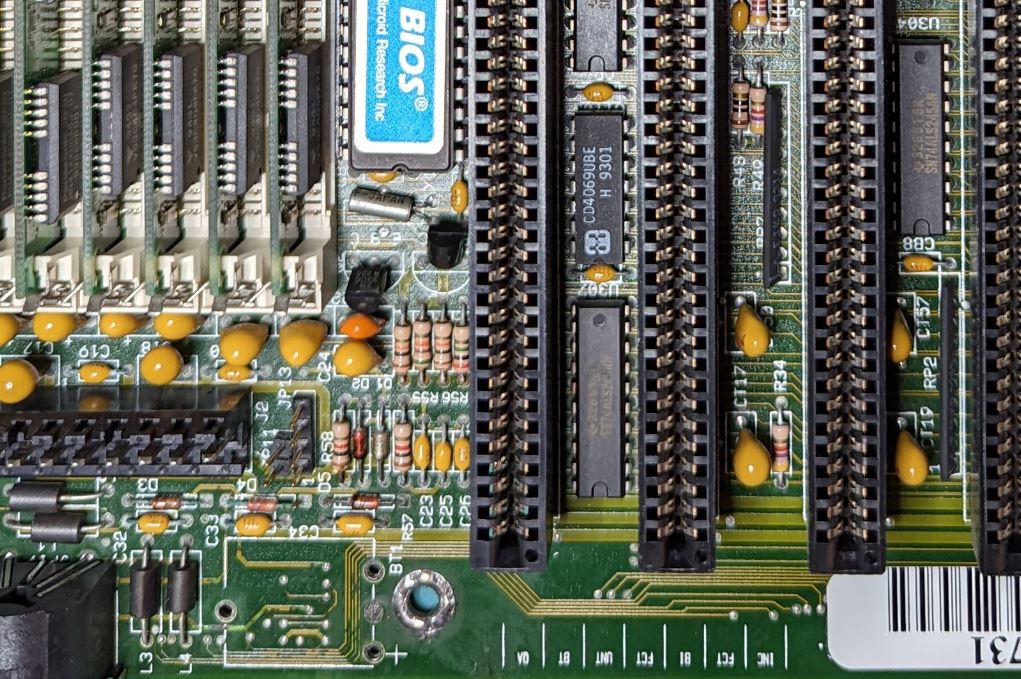
with IPA and a toothbrush, but it hadn’t gotten a lot of the corrosion off. I decided to see if a bath in white vinegar would stop the corrosion and sure enough, it neutralized and broke it up. I repeated this several times until there were few if any remains of the corrosion visible. I had also removed the power and keyboard connectors from the board and given them a vinegar bath as well. (I had also removed all of the socketed chips and checked them for corrosion ahead of time) With the corrosion eliminated, I washed the board with tap water in the sink and set it up to dry for several days. (I also helped it along by turning it upside down and spraying it with compressed air)
Once I was sure the board was completely dry, I placed all of the chips back in their sockets and soldered the keyboard and power connectors back onto the board. While I had to fiddle with the hardware, I was able to get the system to POST after a few tries. The next problem I ran into was
the BIOS and it’s lack of support for large drives. I had purchased some IDE to CF adapters to allow me to boot from a Compact Flash card, but the 8GB cards I selected were too large. I’d recently seen a video about another retro enthusiast who had been able to use a network card with a custom boot ROM that might be able to solve this issue. While restoring my old 286, I built a complete 8-bit ISA controller using this same software (XTIDE) and thought I’d give this a try. I also happened to have the original EPROM for the Eteq 486SLC (which I’d replaced because it got corrupted… that’s a story for another time) and was able to successfully erase and re-write the chip with the XTIDE firmware. This got me further, but the system still seems to have some translation issues with the Winbond multi-io card I’m using. Eventually, I imaged the card with one I’d taken of an identical card from another system and that got it booting.
So, time to run some benchmarks and see what the system can do! As I suspected though, the system was pretty modest. As I mentioned earlier, the system only performed a little better than a i386-DX40. This isn’t so bad considering the design. You have to remember, at the time small jumps in processor frequency provided measurable performance increases. While the Cyrix-designed chip was a little slower and had an I/O bus half the size of 386, it had a more efficient design and onboard cache that helped it perform much better.
Also helping this system is a math co-processor made by IIT, the XC87SLC-33. This chip was effectively a recycled 80387 compatible design IIT had been pumping out since the 386 days. It’s performance is modest, but it was cheap and that made it attractive as a poor college
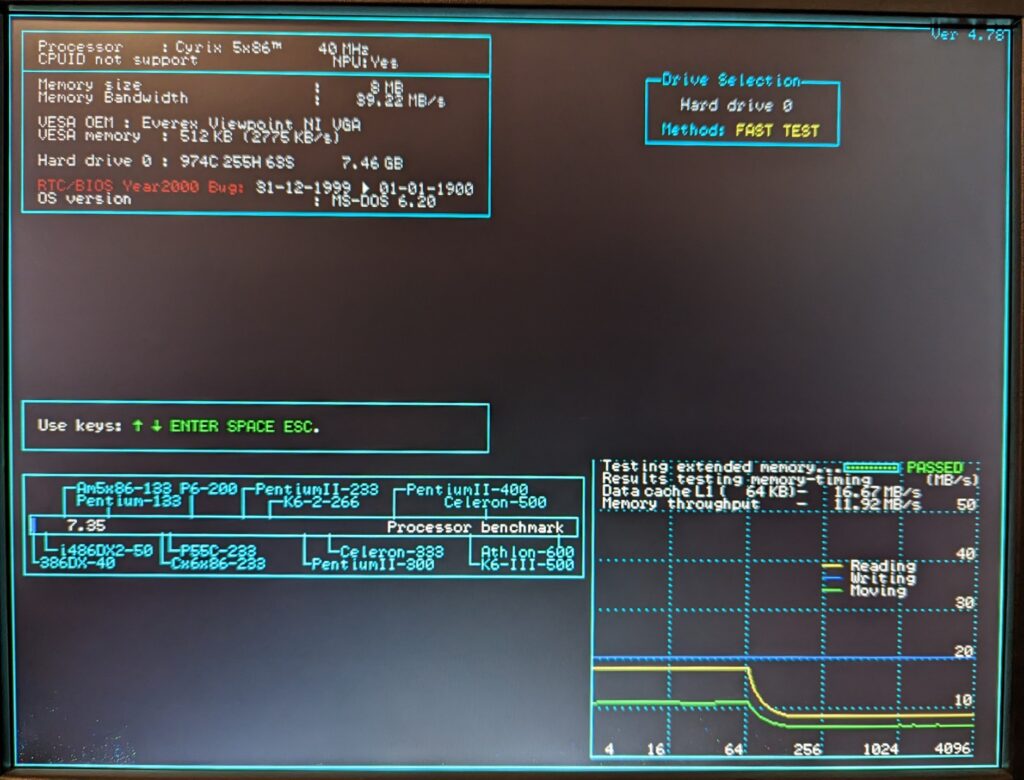
student. The Norton SpeedSys benchmark shown above demonstrates just how modest this system was. Looking at some similar reports for i486-DX266 CPUs, this is a little less than half the speed in just about every area. Because I’m curious, I’ll probably drop my Cyrix 486DX2-66 into a compatible motherboard and see how they compare. This system isn’t fast and it’s not all that exciting, but I’m glad I saved it from rotting away for good. Perhaps one of these days I’ll find a baby AT case and build it up into a complete system again.